Headshot Lighting Tips: Master Professional Photo Lighting
Lighting can make or break a headshot. Even with perfect attire and posing, poor lighting will produce an unflattering result. Here's how to achieve professional lighting for your headshots, whether you're using natural light or studio equipment.

Natural Light Mastery
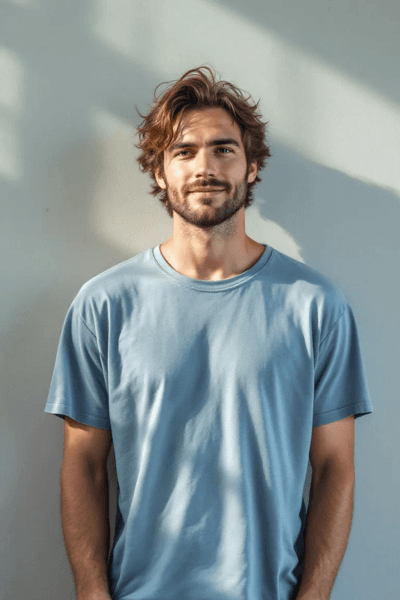
The best free lighting source is a large window. Face the window directly for soft, even illumination. The ideal time is during overcast days or early morning/late afternoon when the light is diffused. Avoid harsh midday sun or direct sunlight through windows, which creates strong shadows and squinting.
The Window Technique
Stand 2-4 feet from a large window with the light hitting your face evenly. Use a white wall or reflector on the opposite side to fill shadows. This creates a professional, flattering look with minimal equipment. Close curtains or blinds halfway for softer light if needed.
Ring Lights and Softboxes
A ring light provides even, shadow-free illumination and is affordable ($20-$50). Place it at eye level directly in front of you. Softboxes provide more natural-looking light and are the standard in professional photography. For headshots, a single softbox at 45 degrees to your face creates attractive dimension.
Common Lighting Mistakes
Overhead fluorescent lights create harsh shadows under eyes and nose. Backlighting (light behind you) silhouettes your face. Mixed color temperatures (warm and cool light together) create unnatural skin tones. Multiple light sources from different directions can create confusing shadows.
AI Lighting Enhancement
AI headshot generators automatically optimize lighting regardless of your input photo's quality. The AI corrects harsh shadows, evens skin tones, and applies professional studio-quality lighting to your result. This means even a poorly lit selfie can produce a beautifully lit headshot.